Knowledge from Olle Garden Bed: How to Build A DIY Compost Bin
Seasoned gardeners know the benefits of having a good source of compost, and a DIY compost bin may be the best way to ensure that. Filling the pile with nitrogen-rich materials that are balanced by carbon and micronutrients helps us build soil without having to source it from the outside. There are also many ways to DIY your compost. Vermicomposting, using regeneration techniques, or simply piling up are all effective ways to boost plant growth. It would be better to make something a little more technical like a bay system and add an interesting look to the garden. In this article, we'll discuss how to make your litter box, and how to maintain it. The following content also has some reference value for raised garden beds.
Vermicompost box
A very simple method of composting in small spaces is worm composting, also known as vermicomposting. You can buy worm compost kits - like the Urban Worm Bags and Urban Worm Box Accessory Packs stocked in our online store - or you can make your own worm bins.
One way to DIY vermicomposting is to build a worm tower, a simple design that involves a large PVC pipe that you can drill to create perforations in its sides. You put food waste and other worm food, like shredded paper, in there and wait for the right type of worm to roll in.
You can also use staggered plastic bins filled with worms to feed them throughout the composting process. In this case, the perforation is located in the lid of the container and the entire system is closed, above the ground. Ideally, you should be able to bring the litter box indoors when the temperature is too high or too low for the worms.
Compost heap
Next up is the classic compost pile. Simply put, a compost pile is a large pile with layers of green and brown materials stacked together in a row and turned over regularly. Often, the pile is directly on the bare ground, so beneficial fungi and soil microbes can access the material composted above. It's a neat way - as long as you turn it around and stack it often - effortlessly.
Compost tumbler
The great thing about compost tumblers is that they seal the compost in the bin, keeping rodents, most bugs, and any animals that might find your compost tasty or interesting out of the way. Turning the compost is as easy as turning the handle on the side. You don't need to do much other than make sure the compost material is balanced correctly.
Trench compost
It's basically a bunch, but goes a step further. Food scraps and brown carbon-rich materials are placed in ditches, where they come into increased contact with beneficial microbes and fungi. The same basic rules exist, it's a little easier in the process needed to start composting, because because of the more surface area contact, it's easier to get to the bare ground where the beneficial bacteria live.
Plastic container
Inexpensive compost bins can be made from trash cans or plastic tote bags with tight lids. In this design, a layered system is not required. Just find a container of the right size, drill some holes in the sides of the top, and put the lid on. Then remove the lid to add organic material and start composting kitchen scraps, yard waste, etc.
Compost bin
If you want to create something a little more technical, you can create your own litter box out of wood stakes and hardware cloth or chicken wire. You can make a very simple design by inlaying a square or rectangle with wood and wrapping it on three sides of the stake with a fence of your choice. Build your compost pile inside.
Create a very similar compost bin without any fences by stacking concrete blocks or large stones on three sides, then throw the compost in it.
While any of the above options are great for home gardeners, farmers, and nursery workers, you can get more technical with DIY projects. Jacques, Kevin and Paul recently built a 5 bay composting system on Epic Home. The design they execute is simple but makes the composting process more organized than some of the other designs mentioned so far.
Planning stage
Before gathering materials, plan your design on paper or on a computer. Includes measurements for your space, the entire rack system, and individual racks. Consider issues such as where will the compost racks be located? How long will I use this system to make compost? I wish it was modular or more permanent?
All of these considerations will help you determine the best way to collect materials and implement your design.
Gather materials for your compost bin
In this section, we will discuss the materials required for a single carrier. Additional brackets will require front and back material, and only one extra side. Below is a list of materials needed for the one-box design that Kevin and Jacques implemented with Paul.
All pieces are cut into 3 foot lengths
(6) 1 x 6" boards
(1) 2 x 4" board
2 side panels
All pieces are cut into 3 foot lengths
(4) 2 x 6" boards
(4) 2 x 4" boards
(10) 1 x 6" boards
(4) 2 x 2" boards
Front
(6) EA 1×6" boards cut to fit the front, about 32" each
Hardware
(32) Cabinet screws
Tool
circular saw
folder
electric drill
Shovel/rake for clearing spaces
Now, it is appropriate to create multiple independent bays next to each other. The advantage of this is that your design will be modular, can be moved around, and it may be easier to access materials.
However, more material often means more expense. But you can source materials for free and use upcycled wood pallets, repurposed wood and other hardware. If you choose to go this route, spend all your time doing it.
Build your compost bin design
Start by leveling and clearing the position of the litter box. If you have a chicken coop, like an EG Homestead, maybe an offset near an edible garden is the best place. Or maybe you have a space away from the garden. Make enough space for your 3ft by 3ft bin multiplied by the number of bays.
Make sure the space is not against a wall, which can create water pockets. Then, if you're not using repurposed pallets, cut the wood slats to size. Thankfully, the design is so simple that once you know how to build one bay wall, you know how to build the rest.
The basic design is a sandwich of two 2x4s and two 2x6s at each end, which can hold five 1x6s. Then drill two screws into each slat. Once all the panels are built, place them next to each other and connect them with a stack of 1×6 boards of equal size to completely enclose the back of the bracket set.Use two 2x2s to create a channel that you can put in the front slats to make your front panel bracket. Set the width of the 2x2s wide enough using a 1" spacer. Then clamp everything and drill into your 2x2s.
How to use a compost bin
Now that you have a lovely wooden bay DIY composter, let's talk about how to use it. As I mentioned before, it is perfect to use one bay for brown material, one for fresh material currently being composted, and one for available compost. You can also separate bins into different types of compost, one for worm bins, one for straw bales, and one for green waste. You can also keep one for grass clippings and other yard waste, where you can break it down and kill weed seeds before adding them to your new compost bin.
Your DIY composting system can be oriented any way you want. It can be used strictly for traditional composting methods, or it can be developed to accommodate several types of compost.
Maintenance of compost bins
Now let's talk about composting tips. When you're composting outdoors, you're going to have to deal with these elements. This means that after a while, you may want to inspect the wood for signs of rot and wear. Replace plates and beams as needed.
Monitor the compost itself. Make sure there's enough airflow, and if you're dealing with worms, make sure they're being fed enough organic waste to thrive. Likewise, feed the compost with the right amount of green and brown stuff, adding a little green when it's too dry and brown when it's too wet. Another thing to consider is cleaning the bin when emptying it. Spray them with some water to add to your garden soil after harvest. Keep things like plastic waste out of the bin. While many sources will tell you that tea bags and coffee filters are compostable, they are usually made of materials that don't break down easily.
Separate the filter from the coffee grounds and chop or throw them away before adding them to the heap. Eggshells are another material that may require some sterilization and grinding before going into the heap.
Citrus peels should be added in small amounts, as they can be very acidic and kill microorganisms that work well in your heap. Leftover leafy greens are great! If you see flying insects prefer compost material, this is normal. When they infect a bunch, turn it around and add the brown stuff.
Harvest compost
Now that you know how to use the compost bin, and you've properly fed the bins, you have the privilege of harvesting finished compost. If you have a staged bay system where you can add food scraps to one and move the ready-to-use stuff to the other, it's easy. Simply sift the top of the pile to get access to a rich garden correction of compost at the bottom. Move it to the finished bay.
If you use a different composting system in the bay, you may need to sift out good compost from other organics, such as kitchen waste, vegetable peels, or general fruit and vegetable scraps. After removing these materials, you can start adding compost to your garden bed.
How to use compost
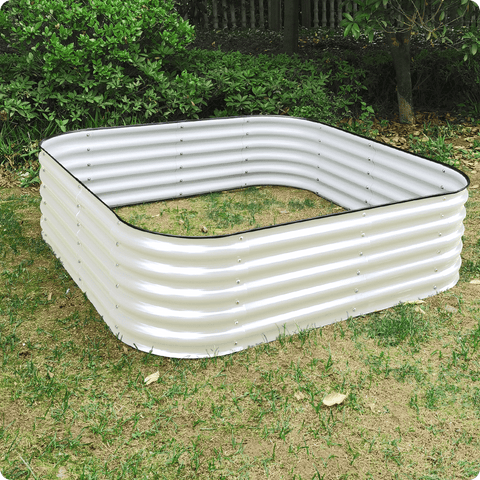
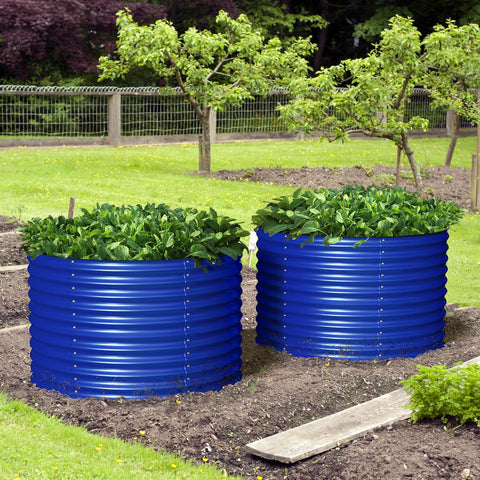
Using finished compost is very simple. Add it to your outdoor space as a ring around your plants, or incorporate it as an amendment into a mix of topsoil, fertilizer, and existing garden soil. You can also use actively composted materials in giant raised garden beds of culture, adding them as they decompose for later planting.
When you use your own DIY compost instead of garden center bagged items, you will find that your garden grows more in less time. Happy composting!