Quick, Easy and Cheap DIY Raised Garden Bed
It will be a super quick and simple post! I know many of you are trying to build an raised garden bed for your garden this year, so I thought I'd share how we built ours! Warning: They're not pretty! They are fully functional, quick and easy to build, and inexpensive in materials.
We chose to build six 4'x8' beds for our garden, but I would like to encourage everyone who may not have a large yard or no yard at all – you can grow a successful vegetable garden 100%, even if it's just one of the beds, or even in a container on your porch! You don't need to go big, especially if it's your first time!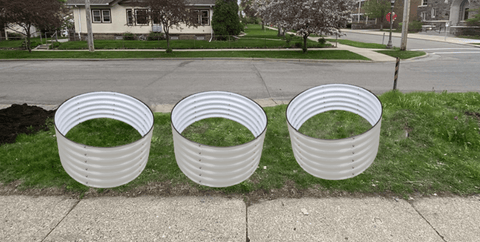
No further goodbye, this is what you need and how we build a quick and easy elevated garden bed!
What is an raised garden bed?
A raised garden is a garden frame made of wood or other materials and filled with soil so that it sits above ground. They are very useful and powerful for a number of reasons, and gardeners have been using them for years!
Benefits of raised garden beds
1. If the ground soil is too sandy, too rocky, or too much clay, the perfect soil composition can be created.
2. The soil warms earlier and stays warm longer than the ground.
3. Ideal drainage conditions.
4. Gentler on seeds and fine transplantation.
5. More ergonomic: easier to weed, easier to pick vegetables and cut flowers because the bed is higher above the ground.
6. Plants are able to root them deeper, which means a stronger foundation and improved health.
7. Easy to build.
8. Keep the space tidy and beautiful!
How to build a 4'x8' raised garden bed?
Sag 1"x12" panels into a 4-foot long and an 8-foot long. Do this for both boards.
Cut the 4"x4" column into 1-foot sections, and these will be used to anchor the corners of the bed.
Place 1"x12" planks on their thin ends, on a level floor, and arrange a rectangular frame for garden beds.
In all four corners, connect the 1"x12" piece to the 4"x4" piece using screws and a drill. Fragments of 4 "x4" will fix the corners of the bed to make it stronger, so the longboards are screwed into these posts, and not each other!
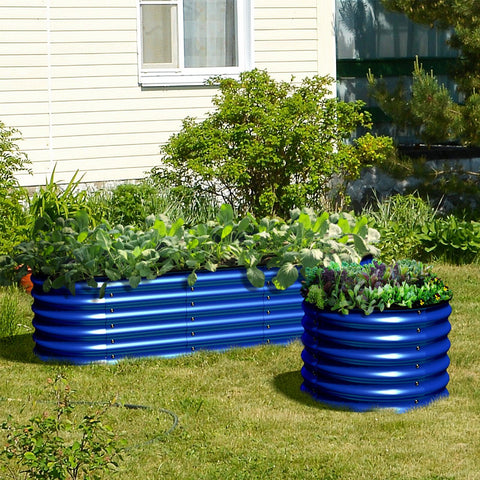
Arrange raised garden beds and prepare soil
You can set up the bed, but it makes sense for your location. A big tip, for vegetables and cut flowers, you need a lot of sunlight, ideally 8+ hours a day.
I recommend laying cardboard (anything will do, just lay the box flat) and place the bed on it. Cardboard will help curb weed growth, something you can thank yourself for late in the season! If you want to be very fancy, read what gardeners call "lasagna gardening". Basically, it's layered cardboard, newspaper and organics to curb weed growth, plus a "until" philosophy. It's great fun and it works!
Once your cardboard is down and your bed is made, it's time to fill them with dirt! Because you're growing vegetables or cut flowers to absorb a lot of nutrients, you'll want to start with nutrient-rich soil.
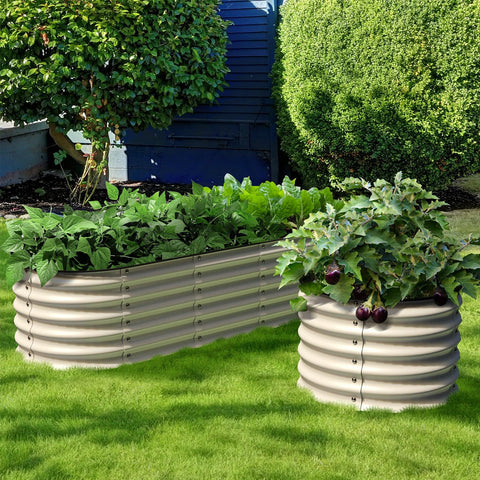
Earth
My recommendation is to use a 50/50 mixture of topsoil and compost. You can buy these bagged soils from your local garden center or have them shipped through the yard (that's what we did, as we had 192 cubic feet to fill). In addition to this mixture, we usually throw about 4 bags of feces per bed!
When filling the bed with a soil mixture, leave a few inches on top and you want the soil to be about 3-4 inches below the top of the bed so it doesn't spill when you go to plant. Next, soak the soil and leave it for a few days before planting!
That's it! I hope you enjoyed this super quick and easy DIY loft bed tutorial, and I'd be honored if you end up using this guide and you're excited about growth this year!