Tips from Olle Garden Bed: How to Clean Garden Tools Correctly
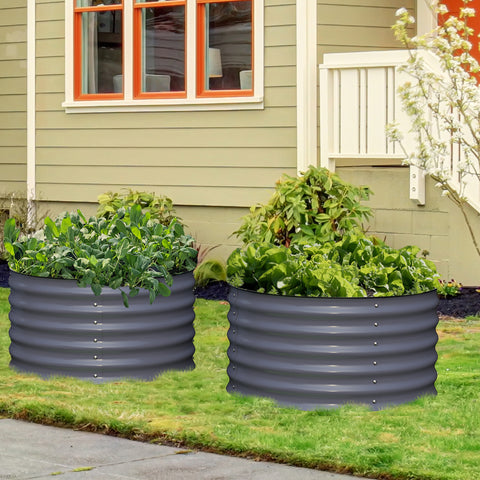
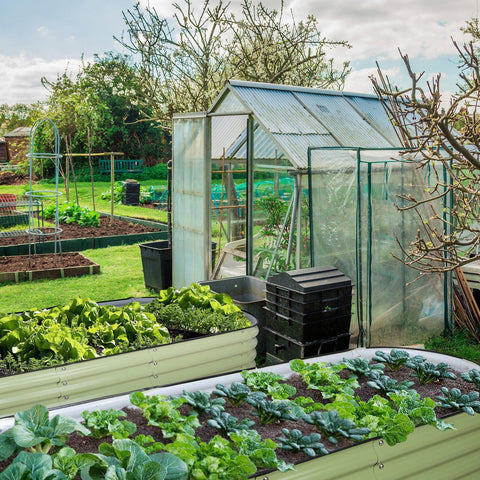
If you want to have a healthy outdoor space, it is very important to take care of your garden. But how do you ensure that gardening tools are well cleaned, especially at the end of the gardening season? The following content also has some reference value for raised garden beds.
Although this seems to be a tedious task, the correct cleaning and maintenance of gardening tools is crucial for making full use of them season after season. However, if you are not sure how to do it correctly, this guide will guide you through several steps to clean your garden tools.
What do you need?
This is what you need to clean garden tools.
garden hose
Sodium bicarbonate (optional)
Vinegar (optional)
Oil you selected
cloth
glove
Sandpaper
pencil sharpener
A step-by-step guide to cleaning garden tools
Step 1 – Remove any dirt
The first step is to quickly clean your outdoor tools with garden hoses! First, spray off most of the dirt and dirt. Focus on hitting the worst possible cut end of soil and dirt.
Take this opportunity to check for rust, debris, or any other damage that may occur throughout the season.
Step 2 - Soak to remove any excess dirt
Once you've removed most of the dirt, it's time to soak your garden tools in a bucket or basin of warm soapy water. It will help loosen any stubborn dirt and debris that may stick to the surface. Let them soak for at least 15 to 20 minutes, then use a brush to remove the residual dirt.
It's time to take a more serious approach to those lumpy stains that are too stubborn for soap. Rub the tool in hot water and baking soda solution (1:1). Let them stand for at least 10 minutes, then use a non abrasive scrub brush to help break down dirt and grime.
Step 3 – Disinfect with bleach solution
Once you've removed most of the dirt, it's time to soak your garden tools in a bucket or basin of warm soapy water. It will help loosen any stubborn dirt and debris that may stick to the surface. Let them soak for at least 15 to 20 minutes, then use a brush to remove the residual dirt.
It's time to take a more serious approach to those lumpy stains that are too stubborn for soap. Rub the tool in hot water and baking soda solution (1:1). Let them stand for at least 10 minutes, then use a non abrasive scrub brush to help break down dirt and grime.
After cleaning and washing the tools, they should be disinfected with bleach solution. This may not be the most enjoyable process, but it will greatly help ensure that your gardening tools are safe and ready for the next season.
Mix nine cups of hot water with one cup of chlorine bleach in a bucket. Add more bleach/water solution as needed to completely submerge the working end of the tool. Let them leave this solution for at least 10 minutes, then drain the bucket (outside the lawn or plants) and wipe each tool with a clean cloth. This will help prevent any harmful mold, mildew and rust from grabbing your tools and protect them from the spread of diseases in different seasons.
Vinegar is also an excellent environmentally friendly alternative to cleaning and disinfecting garden tools. Not only does it contain less irritating chemicals than bleach, but it is also unlikely to harm children or pets who may come in contact with the solution or newly washed tools.
First, fill the bucket with vinegar of full concentration or mix 50/50 with water, and then immerse the working end of gardening tools in water.
Step 4 – Derusting
No matter how careful you use tools, they will inevitably rust over time. In order to prevent this from eroding your tools and shortening their service life, it is imperative to remove rust.
There are several ways to do this, depending on the depth and severity of rust. For light or surface rust, use a metal brush or steel wool and baking soda or vinegar to remove any residue. For deeper rust spots, abrasives such as sandpaper can wipe these areas until all rusty particles fall off.
After removing all rust, wash away any loose rust particles with water and completely dry garden tools before proceeding with other processes. Wetting may cause more rust. A few minutes of drying time will ensure that your tools remain corrosion free for a longer time.
Step 5 – sharpening tools
One of the most critical steps in keeping garden tools in optimal condition is to grind them regularly. First, wipe the blade with oil. You can use mineral oil, engine oil, penetrating oil or vegetable oil.
For large gardening tools such as hoes, shovels and shovel, please use flat metal files on both sides of the working edge. Process the file at a shallow angle and pull it in one direction until the preferred sharpness is achieved.
Smaller tools require more precise methods. Use a sharpening stone, small file or sharpener that fits perfectly with the blade, and follow the slope and direction of the blade, while filing down only on the cutting side - never on both sides.
After the grinding is completed, gently wipe the oil cloth to remove any residual metal chips that may cause darkening.
Step 6 – Clean the handle
When you clean and disinfect the tool head well, don't forget the handle! Cleaning the handles will help keep them in good condition for a long time and prevent debris. Just take a cloth and wipe the handle with any detergent you use.
For metal handle tools, you can use vintage and steel wool for light treatment to prevent any possible rust. Pay special attention to the joints where the handle and head are connected together, as they are most vulnerable to corrosion. For wooden gardening tools, use a piece of fine sandpaper or fine steel wool to remove any broken or rough spots.
Step 7 – Oil the surface
When you clean and disinfect the tool head well, don't forget the handle! Cleaning the handles will help keep them in good condition for a long time and prevent debris. Just take a cloth and wipe the handle with any detergent you use.
For metal handle tools, you can use vintage and steel wool for light treatment to prevent any possible rust. Pay special attention to the joints where the handle and head are connected together, as they are most vulnerable to corrosion. For wooden gardening tools, use a piece of fine sandpaper or fine steel wool to remove any broken or rough spots.
The last step in the pre winter gardening list is to oil the surfaces of all metal tools. This will help keep them in good condition and prevent rusting.
Take a rag, pat it with light oil (preferably vegetable oil), and then give each tool a good wipe. It includes anything with a metal surface. Get the front and back of each tool so that there is no chance of rust formation or recurrence. Don't go too far. Just apply enough oil so that everything has a good protective layer.
Cleaning time!
Now that you know how to properly maintain your gardening tools, it's time to go out and start cleaning! With proper care, your gardening tools will last longer and help you keep your garden beautiful. So don't forget to give them some love every once in a while.