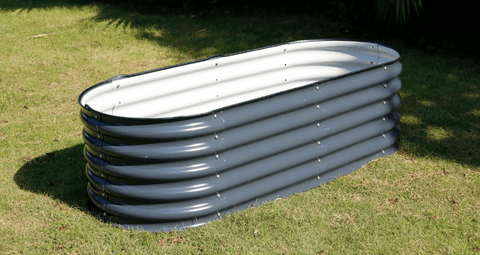
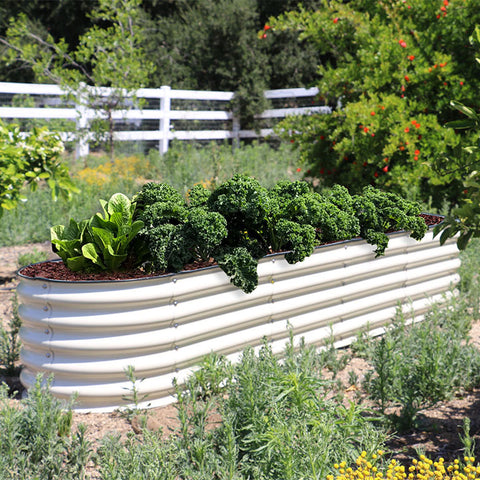
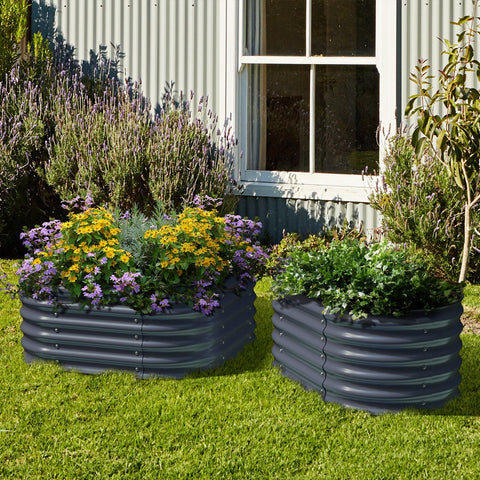
Tips from Olle Garden Bed: How to Plan and Create a landscape planting beds
By adding one or more garden beds, you can transform the plain lawn into a charming landscape, adding color, texture and overall interest to your property. Garden beds can take many forms. Today, it is perfectly acceptable to use garden beds to grow vegetables and other foods.
When to create a garden bed
The physical work of creating garden beds in the lawn is best started in early spring. Once the ground is warm enough to work easily, the planning of garden beds is usually started several months in advance. Thinking about what your garden bed might look like and browsing magazines and books for ideas might be a good way to spend winter without a garden job.
Planning garden beds is an excellent activity for new homeowners who want to put their personal seals on their newly purchased properties.
Before you start
The most important step in planting a new flower bed is to imagine the future. Although your bed may not look much the first time you plant it, remember that it will be fuller, taller and more colorful in a few months. The key is to predict the height, color, texture and quality of all kinds of plants. This is best done if you start paying close attention to other gardens you enjoy nearby as early as possible. Visiting the local botanical garden or public garden can also give you some ideas. Garden magazines may include planting plans designed to achieve a specific appearance of the finished garden bed.
If you want to risk creating your own garden design, please remember the following goals:
Try to include perennial plants that bloom at different times of the year so that something is always in bloom. Although annual flowering plants can achieve fill color, your ultimate goal should be a completely perennial garden that can be self-sustaining without additional annual planting.
Try to get a garden bed with a tall plant background behind it, and create a "canvas" for the rest of the arrangements. This is a technology called tiering. In the background of planting flower beds, "layering" means placing the highest flower bed plants in the back, the shortest in the front, and the rest in between. The beautifully layered flower beds provide the greatest visual appeal when all plants mature.
Notice how colors interact. This is not only the color of flowers, but also the color of leaves. Avoid obvious conflicting colors.
Consider shape, texture, form, and color. Well designed garden beds will offer many different design principles, not just colors. Small shrubs are a great way to introduce texture into the planting bed.
Remember that you can change the garden design at any time, moving, deleting, and adding plants as needed. If you haven't done it right from the beginning, don't worry too much.
What do you need?
Equipment/tools:
Art knife or garden scissors
Garden staple food
Garden shovel
Trowel
Material Science:
Plants of different heights and colors
cover
Soil improver (compost, etc.)
Landscape fabric
Instructions:
- Select the position of the garden bed
The first step is to choose a suitable yard location for your garden bed. In most cases, a full sunlight location that receives at least six hours of direct sunlight every day will provide you with the most choices for planting flowering plants, but there is no reason why you can't create a garden bed in a dark place, as long as you are willing to limit your plant selection to species that prefer shade.
Generally speaking, the area where grass grows vigorously in the yard may also support a good garden bed. Avoid areas where tree roots are prevalent, because trees will deprive the soil of water and nutrients. Without special efforts, it is difficult to maintain a healthy garden.
If your yard has poor soil, you may need to provide additional topsoil to create a garden bed suitable for planting the plants you need. This will allow you to create a garden bed almost anywhere, as long as there is enough sunlight.
Gardening tips from Olle garden:
In a yard with poor soil or poor drainage, you can create a garden bed by providing an appropriate amount of topsoil, and then build a large raised mound or "berm" for your garden. This raised berm can also help provide a three-dimensional appearance for flat, boring yards.
- Select garden bed style and color scheme
Garden beds can take a variety of forms and colors, from "islands" where various flowering shrubs are planted to very orderly cut gardens, where you will plant annual flowers in well-defined vase arrangement lines. However, for most people, a "garden bed" means a mixed perennial border bed, mainly featuring perennial flowers, and perhaps some annual flowers to provide color throughout the season. Such gardens can also include one or two shrubs to provide shape, texture and winter color.
The whole book on how to design and arrange perennial garden beds has been written, but for beginners, simply focusing on the plants you like is not bad. One of the great benefits of gardening is that you can easily change your mind, add or remove plants, or move them every year until you find your favorite arrangement and mixture.
Unless you are pursuing the typical wild and chaotic appearance of the British cottage garden, you'd better consider the color scheme when planting flower beds. For example, some people prefer a single color that focuses on various shades (such as the white "moon" garden), while others prefer mixed colors. One popular solution is to fill the garden bed with blue, purple, yellow or gold flowers. These colors are complementary and almost always match well.
- Select plants
The real fun starts when you choose plants to fill your garden bed. This may involve a lot of pleasant research on the cultural needs and characteristics of various plants. The most important thing is to choose plants that are suitable for the USDA cold resistant areas in your region. This is usually not a problem if you shop in your local garden center, which will only store plants suitable for your area. However, if you shop online, make sure you only choose plants that are suitable for your climate.
In addition, please pay attention to the cultural needs of various plants and ensure that they match your gardening style. For example, planting iris requires you to dig out the roots and separate them every few years, while hemerocallis will grow happily for many years and few people pay attention to it. Some people think gardening is a pleasant hobby and good exercise, while others want to avoid gardening chores as much as possible - choose your plants accordingly.
In addition to the color of plants, the shape and texture of plants should also be considered. The carefully designed garden will include plants with a variety of leaf textures, from sword shaped gladiolus to the delicate lace texture of a bleeding heart. Remember that the "green" leaves have a variety of colors, from dark blue-green to near yellow. You can also use iris flowers to kill two birds with one stone, such as' Aureo Variegata '. Its flowers are purple, while the variegated leaves are infused with light gold. In addition, its spear shaped leaves contrast sharply with the texture of other plants.
Finally, note that your plan includes various plant sizes. In most garden plans, the back of the garden will include towering specimens, the middle garden will include medium sized plants, and the foreground edge is most suitable for creeping mat forming plants.
- Garden bed arrangement
In most areas, the positive work of creating garden beds is best started in spring, as long as the soil is warm enough to work. The first step is to lay garden beds on the lawn. This can be done by painting, chalk, or using flexible garden hoses to outline the garden bed on the lawn.
Garden beds can be any size you want, but a common mistake is to plan a garden that is too small. Of course, it is always possible to expand the garden afterwards, but it is better to create a beautiful and spacious garden bed from the beginning. A bed 5 or 6 feet deep and 10 or 12 feet long should be considered the minimum requirement. You can make your garden any shape you want, but most designers suggest oval or kidney gardens have the best aesthetic appeal.
- Grass removal
If you want to create a flower bed from scratch in the area currently covered by grass, you must first get rid of the grass. An effective technique is to use a standard pointed shovel to cut the sod into pieces (about 4 inches deep x 10 inches wide x 10 inches long). Then, place the shovel on its side, with the blade perpendicular to the ground, and knock the turf on the blade of the shovel. This will remove most of the soil from the sod to avoid waste. Place the turf in the compost bin for disposal.
Another popular method is simply to kill grass. This can be done through broad-spectrum, short-lived herbicides (such as glyphosate). Glyphosate effectively kills all plants, but becomes inert almost immediately after contact with the soil. Carefully spray the grass in the outline of the garden bed, then wait about a week until the grass turns brown and dies. Then, you can stir the dead grass with the soil by repeatedly digging deep. The withered grass adds organic matter to the soil and improves the texture of the soil.
Another more organic way to kill grass is to "sun" the garden bed area by covering it with plastic sheets. When placed in the sun for two to three weeks, strong heat will kill grass, weeds and soil pathogens. When the grass is dead, just dig it into the soil.
- Add soil conditioner
Almost all garden beds will benefit from the addition of organic improvers such as compost, peat moss, or well decomposed leaf coverings. Composting increases the fertility of the soil, and by putting it underground, you will also loosen the soil and make it more fragile. If your soil type is clay, add sphagnum as an additional soil conditioner.
This is also a good time for professional laboratories or university extension services to test soil samples taken from garden beds. The test results will provide you with valuable information about what nutrients are needed in the soil and what modifiers are used. For example, if you want to plant azalea, an acid loving plant, the soil test may suggest adding agricultural sulfur as a correction to reduce the soil pH value.
- Add weed barrier (optional)
Although not mandatory, many gardeners like to add weed barriers to help reduce garden chores. The best weed barrier for garden beds is woven landscape fabrics. Unlike the often used black plastic sheets, woven weed barriers allow air, water and nutrients to penetrate into the soil and reach your plants. The cover will then fall on top of the weed barrier to hold it down. The mulch also protects the weed barrier fabric from harmful UV rays because it hides it out of sight.
In addition to garden coverings, you can also use garden staples to secure the weed barrier in place. Staples are especially useful on planting beds on slopes.
Gardening tips from Olle garden:
The objection to the use of weed barriers is that over time, they can prevent organic mulch from decomposing and mixing with garden soil. Experienced gardeners sometimes avoid weed barriers and believe that the overall soil health will be better if the soil is exposed to air, light and organic surface mulch. You may think that omitting the weed barrier will greatly increase your weeding work, but even if there is no bottom weed barrier, regular mulching around plants can well prevent weeds from sprouting.
Another disadvantage of the weed barrier is that it can slow the spread of plants that naturally expand by extending their rhizomes. For example, Hemerocallis fulva planted under the landscape structure may be difficult to expand to form larger clumps.
- Add plants
After laying the weed barrier, you can add plants by simply cutting the X-shaped slit on the fabric. Place the plants on the fabric, mark their location, and then use a utility knife or garden scissors to cut the slit. Next, fold back the flap of the fabric, dig a hole, and lower the root ball of the plant to the ground. Fill the soil around the root ball, and then fold the weed barrier back around the plant stem.
Make sure to leave enough space for each plant. You should expect your garden to look a little sparse in the first season, but it will soon fill up and become more dense.
- Add covering
After all plants have been installed, cover the soil or weed barrier fabric with a thick covering. Landscape coverings can take many forms, including organic materials, such as wood chips, bark chips or compost: inorganic natural materials, such as gravel; And synthetic materials, such as shredded recycled tires. Select any material you want, but note that the cover requires some ongoing maintenance, such as adding more when the material is decomposed or washed away.
Experienced gardeners often choose organic mulch, which can decompose and add nutrients to the soil, even if it means regular replenishment. In the long run, inorganic materials such as crushed stone or shredded rubber can be annoying.
- Add focus (optional)
If your bed needs something extra as a finishing touch, you can add a focus and place an exclamation point in your design. For example, decorative ceramic flower pots or bird baths can attract attention. Other options may include a gazing ball, a suspended birdhouse or hummingbird feeder, a small statue, a small ornamental boulder, or a decorative grid to support clematis or other flowering vines.
But don't overdo it. In most cases, an embellishment can be used as the finishing touch of a small garden bed.